Search This Blog

Showing posts with label own. Show all posts

Wednesday, April 22, 2015

How To Build an Easy Bird Bath

Found this beautiful large bowl the other day and decided to make it into a bird bath with a removable bowl for easy cleaning.


Also found this plant stand and it was a perfect fit!!


 I just happened to have these old metal hooks from sticking them on my wall during christmas (plastic ones would work too!)


So I super glued them while the bowl was on the stand, so that I knew they were placed correctly.


These hooks are so that the bowl wont slide off. I loved this metal stand because it sticks into the ground and I don't have to worry about it falling over!! Turned out perfectly :)


Have a Bowl already? buy this stand on Amazon for 16$ (click on picture for link)


Buy the metal hooks too $1.25 for a pack of 6! Make sure you peel off sticker part before glueing! 
(click Picture for link to Ebay )


Wednesday, March 18, 2015

Finding Unique Luggage tag

So two weeks ago, Me and my husband went on a Bahamas vacation. It was the first tim in 8 years I had flown... let me just say I am a very organized person and I planned out things to pack for this trip weeks before leaving. However the one thing I forgot to purchase was LUGGAGE TAGS!! So important and its also a very good idea to have something unique attached so that you can spot it easily!
Well i remembered what I was missing at about 3 in the morning and we were leaving for our trip at 5am... I layed there in my bed freaking out a bit. I searched my brain for ideas and what to use and BAM it came to me!!! Old iphone cases!!!! They have the perfect spot inside the case to sharpie your name, address and phone number (or tape a piece of paper inside). They are your own and personalized so that you can easily spot it! They can easily be attached through the camera hole, with a ribbon or string.

IT WORKED PERFECT!!! Me and my hubby were some of the firsts to grab our luggage and go!


Thursday, May 1, 2014

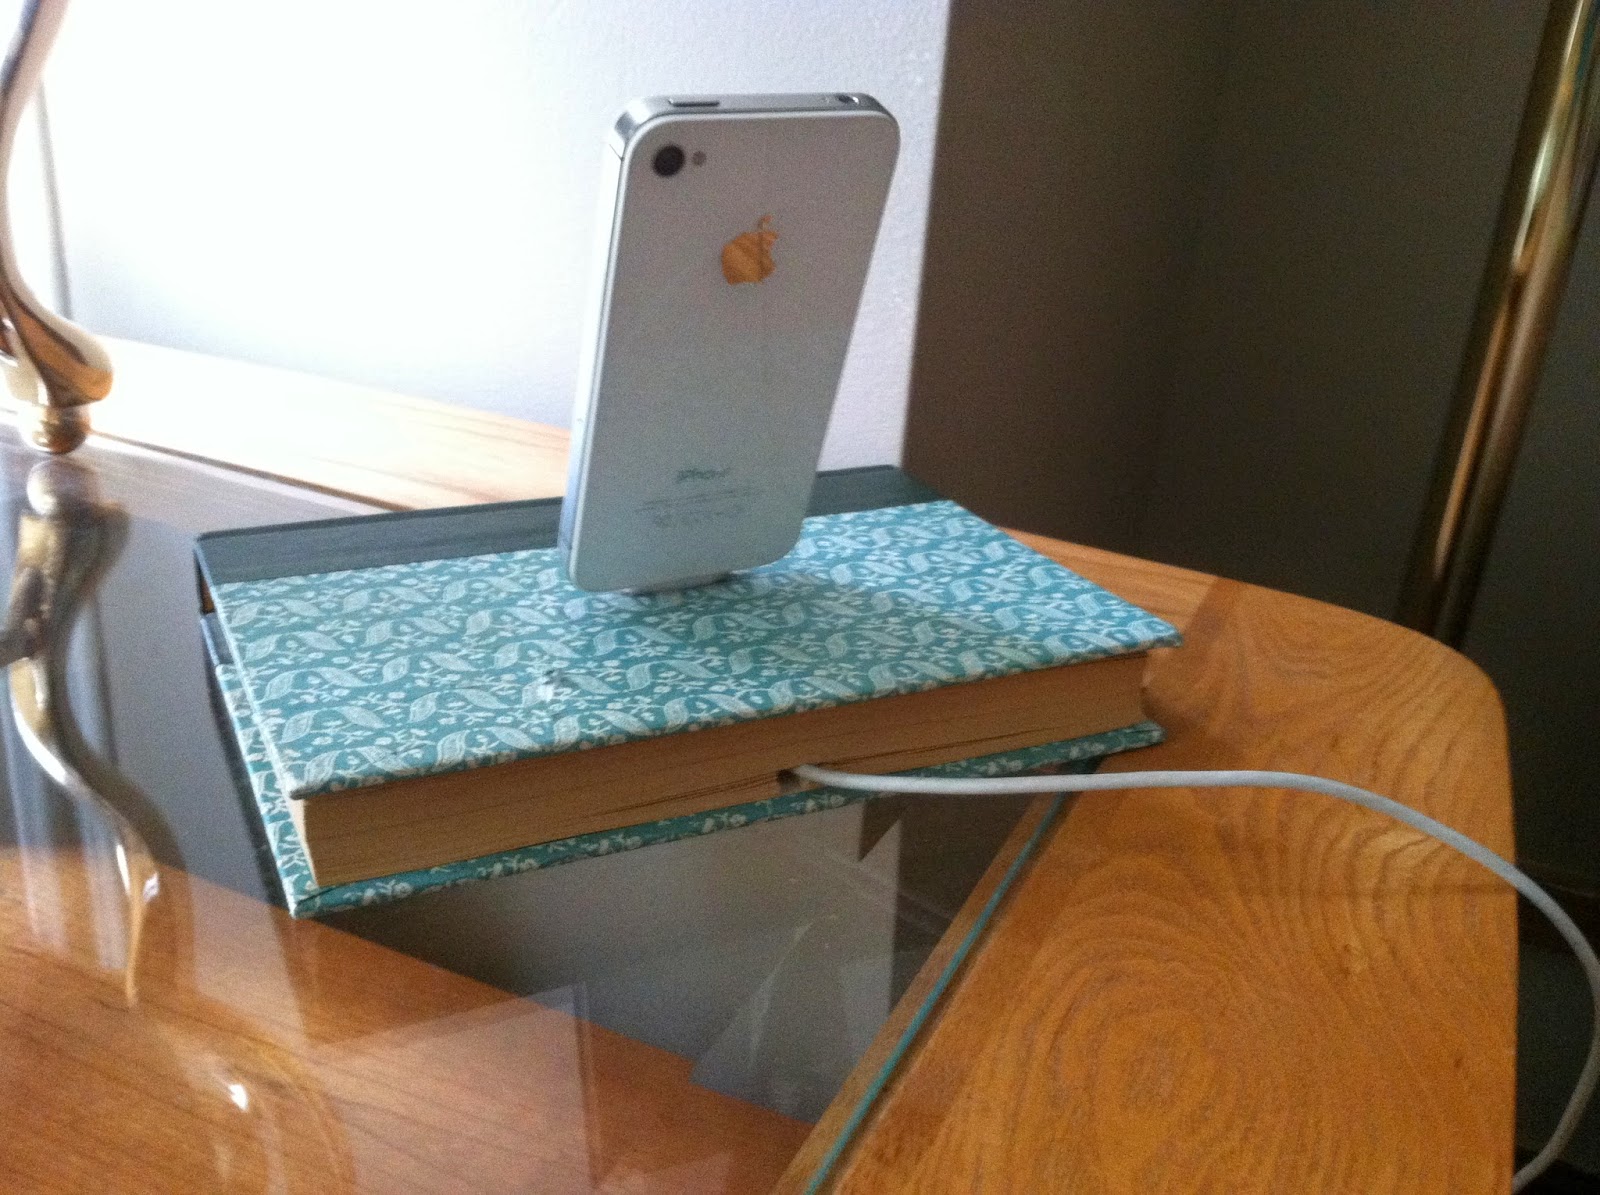
How To Make An iPhone Book Dock


Step 1.
Pick out a book! It should be at least 1.25" inches thick (the thicker the better, just more work).

Mine was an old readers digest that I had picked up for free at a library.


Step 2.

Line up your cord in the center of a page. (this is the bottom of dock) I left a couple of pages untouched on the bottom. Once you've lined it up, draw a line on each side of cord.


Step 3. 
Start cutting! You will need a very sharp knife, or else it will only tear at the pages. 


Keep cutting until you have enough room for the cord. (you can place some of the cord in the hole to check)


Step 4.
Place cord down once again, and then flip the pages you just cut on top of it, like so. 

 Step 5.
Mark with pen/pencil the end of the cord where you want the connecter to go through the book.


Step 6.
Line up connector with lines and draw around it, like so.


circle/square


Step 7.
Start cutting through, this time all the way through to the other cover and then through the cover also. (top of dock). Then feed the connector through.


Step 8.
 Situate your connector at the top, try to level it out.


Step 9.
Tape down the cord inside of book. Then double check you connector on top. 


Step 10.
Use elmers glue around the connector, Do not get any glue on metal, only the plastic! 


Step 11.
I suggest that while its drying you have your phone connected so that it dries the way you want your phone to sit, for mine I set it on an angle. 


Thats it your done!!