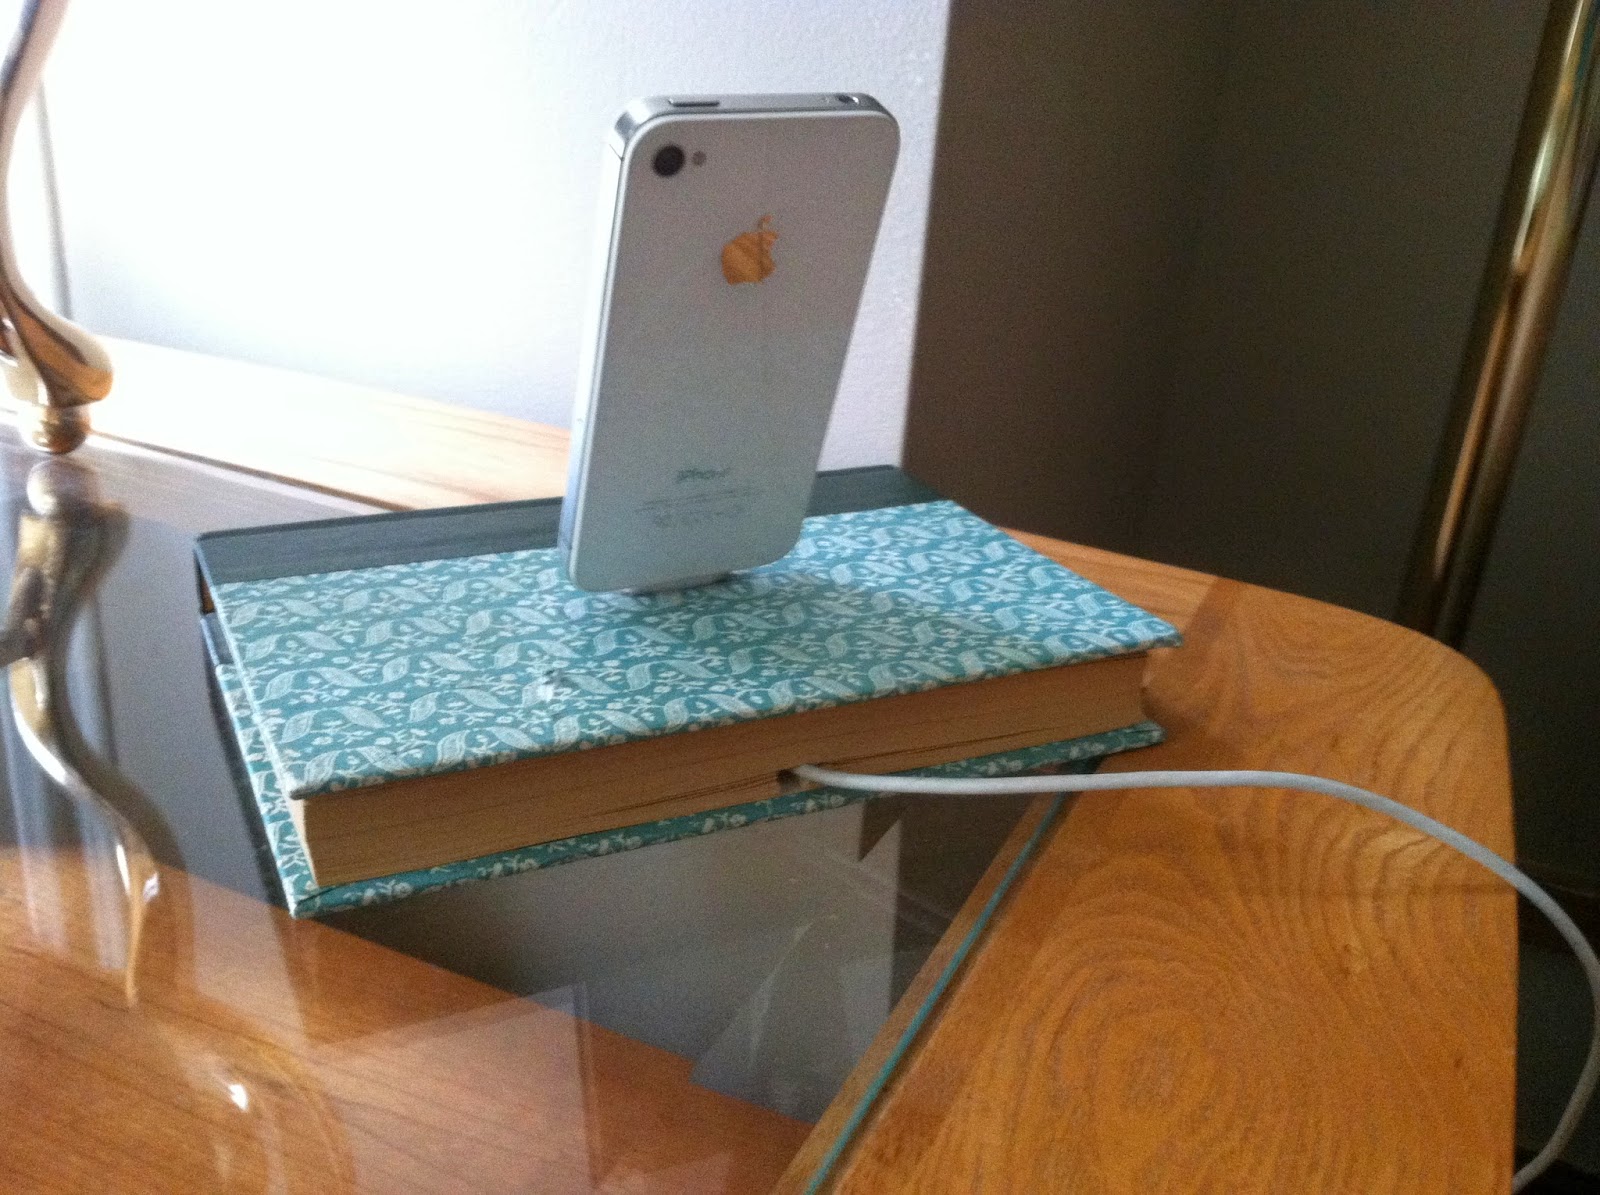
Step 1.
Pick out a book! It should be at least 1.25" inches thick (the thicker the better, just more work).
Mine was an old readers digest that I had picked up for free at a library.
.JPG)
Step 2.
Line up your cord in the center of a page. (this is the bottom of dock) I left a couple of pages untouched on the bottom. Once you've lined it up, draw a line on each side of cord.
Step 3.
Start cutting! You will need a very sharp knife, or else it will only tear at the pages.
Keep cutting until you have enough room for the cord. (you can place some of the cord in the hole to check)
Step 4.
Place cord down once again, and then flip the pages you just cut on top of it, like so.
Step 5.
Mark with pen/pencil the end of the cord where you want the connecter to go through the book.

Step 6.
Line up connector with lines and draw around it, like so.
circle/square
Step 7.
Start cutting through, this time all the way through to the other cover and then through the cover also. (top of dock). Then feed the connector through.
Step 8.
Situate your connector at the top, try to level it out.
Step 9.
Tape down the cord inside of book. Then double check you connector on top.
Step 10.
Use elmers glue around the connector, Do not get any glue on metal, only the plastic!
Step 11.
I suggest that while its drying you have your phone connected so that it dries the way you want your phone to sit, for mine I set it on an angle.
Thats it your done!!


.JPG)


.JPG)
.JPG)
.JPG)